

Courtyard and villa outdoor lighting works best when the property is treated as a sequence of nighttime tasks rather than one decorative scene. Map arrival, movement, entrances, seating, planting and service access first; then assign distribution, controls and maintenance requirements to each zone.
Map the Courtyard from Real Nighttime Use
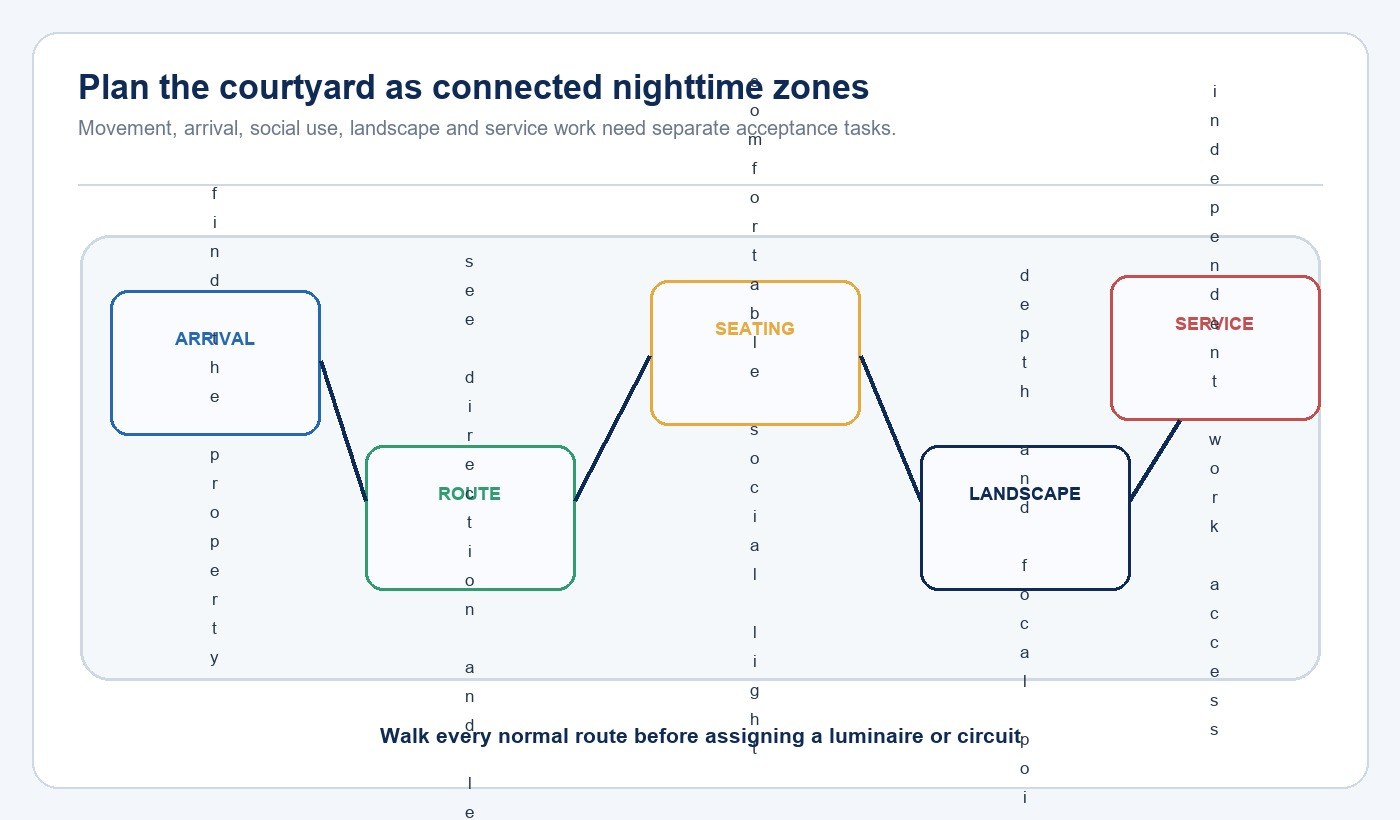
Walk the site from every normal arrival point. Mark parking, gates, doorways, accessible routes, steps, seating, planting, water, service access and property boundaries. Record who uses each route, when it is used and where a person must slow, turn, identify an object or operate a device. Daytime plans often hide the nighttime decision points that actually need light.
Classify each zone as frequent, occasional or decorative. Frequent routes and thresholds need dependable task visibility. Occasional service areas may need a separate manual or occupancy response. Decorative features should not consume the control logic or brightness needed for movement. The broader Outdoor, Garden & Solar Lighting solution provides the application families; this article owns how they work together within a residential courtyard.
Compare the Lighting Layers and Their Failure Conditions
A useful layer has a primary task, a target surface and a visible failure condition. Movement lighting reveals direction and changes in level. Entrance lighting identifies destinations and supports door tasks. Social lighting gives faces and tables comfortable ambient light. Landscape lighting creates depth around selected planting or objects. Architectural lighting reveals chosen planes or textures. Service lighting supports maintenance and access without forcing the social scene to remain fully on.
| Layer | Primary target | Typical failure | Acceptance question |
|---|---|---|---|
| Arrival and entrance | Gate, door, number or access point | Property is bright but destination remains unclear | Can a new visitor find and use the correct entrance? |
| Paths and steps | Walking surface, edge and level change | Bright points alternate with dark transitions | Are decisions visible from both travel directions? |
| Seating | Faces, table and immediate surroundings | Source glare dominates or faces fall into shadow | Can people use the area comfortably? |
| Planting and focal features | Selected canopy, trunk, texture or object | Every feature competes at the same level | Is there a clear nighttime hierarchy? |
| Walls and façades | Chosen architectural plane | Hot spots, reflections or flat over-lighting | Does the surface read as intended? |
| Service and perimeter | Equipment, bins, access or boundary task | Work light is tied to decorative scenes | Can the task operate independently? |
For detailed product-selection questions around landscape techniques, continue with the garden and landscape lighting selection guide. Keep this page focused on whole-property coordination.
Protect Paths, Steps and Direction Changes
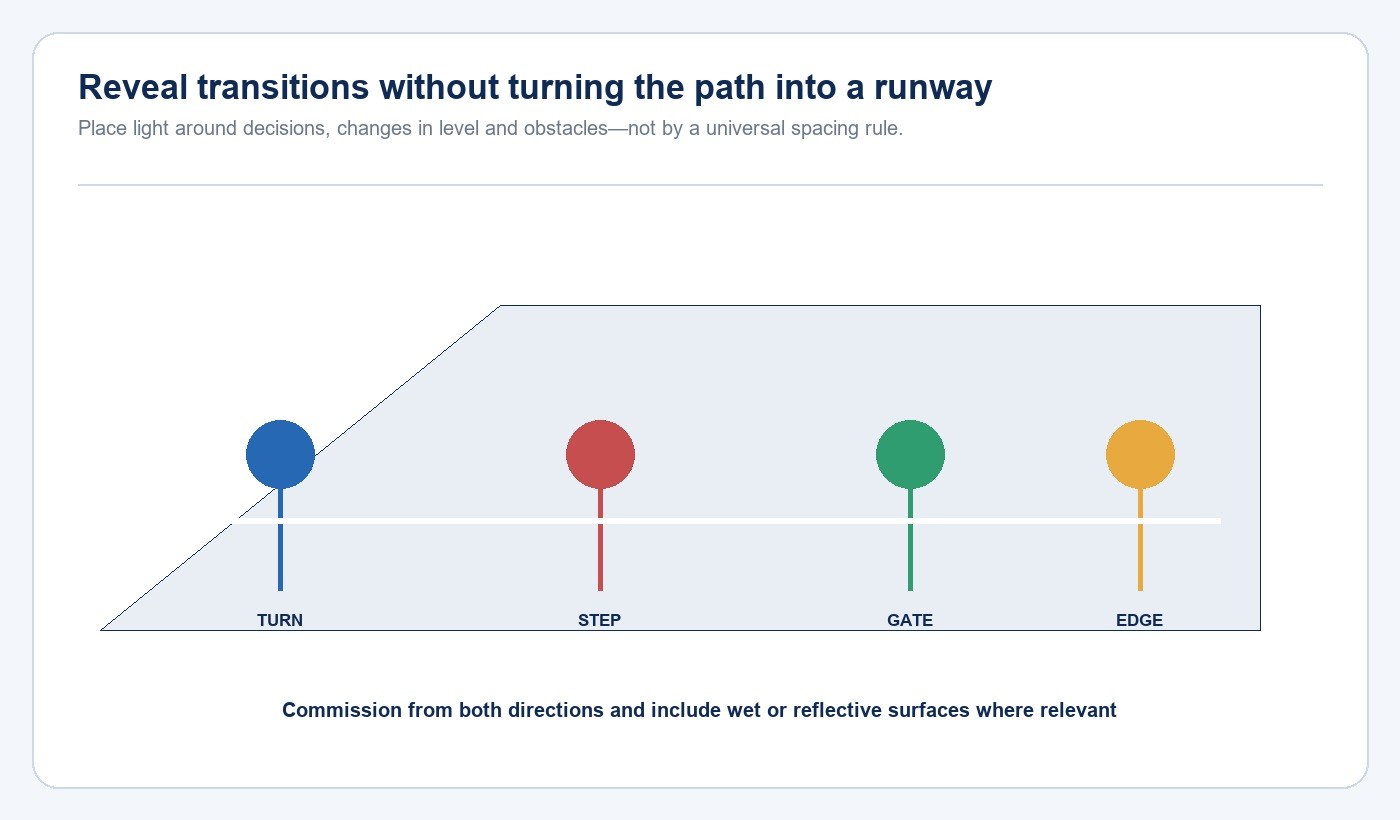
Prioritize the points where a person must decide or adapt: a turn, a step, a threshold, a narrow passage, an obstacle or a change from paving to gravel. Uniform brightness along every metre is not the goal. The route should remain legible while luminaires stay out of normal sightlines and do not create alternating glare and darkness.
Review the route in both directions. A shield that works uphill may expose the source downhill. Plant growth, parked vehicles and seasonal furniture can interrupt low-level light. Where reflected brightness from pale or wet paving matters, test that condition during commissioning rather than assuming the dry daytime surface represents the night scene.
The garden pathway lighting guide covers route-specific selection and commissioning in more detail.
Match the Optical Technique to the Target
Choose the technique after identifying the target. Downward light can support a path or seating edge when the source is shielded. Grazing light can reveal texture but exaggerate surface defects. Uplighting can create depth around trees or façades but needs tighter spill control. Wall-mounted patterns can strengthen an architectural rhythm while leaving the ground task unresolved. Diffuse sources can soften contrast but may remain visible from more viewpoints.
| Technique | Best matched task | Evidence to compare | Common second-order issue |
|---|---|---|---|
| Shielded downward light | Path, step, table edge or low planting | Distribution, mounting height and cutoff | Nearby foliage can block the beam |
| Grazing | Strong wall, bark or stone texture | Beam width, offset and surface sample | Minor construction variations become obvious |
| Uplighting | Tree canopy, column or selected façade | Aiming range, spill and access | Water, windows or neighbours may receive stray light |
| Wall pattern | Architectural emphasis or entrance rhythm | Exact beam image and photometry | The wall can look bright while the task stays dark |
| Diffuse ambient light | Seating or covered transition | Source luminance, shielding and dimming | Visible source can dominate at seated eye height |
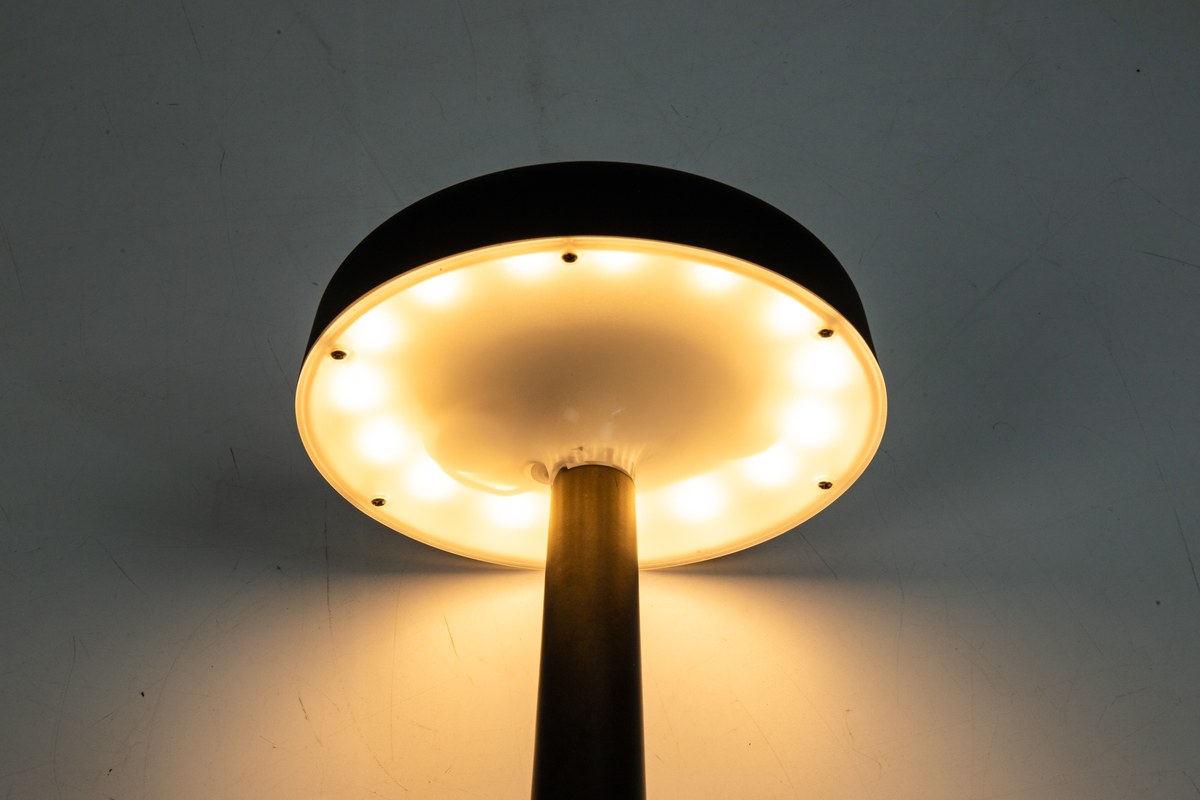
The illuminated underside of a garden bollard makes the shielding and downward optical task easy to inspect. Compare the exact product distribution and installation height before applying it to a route or seating boundary.
Control Glare, Reflections and Competing Views
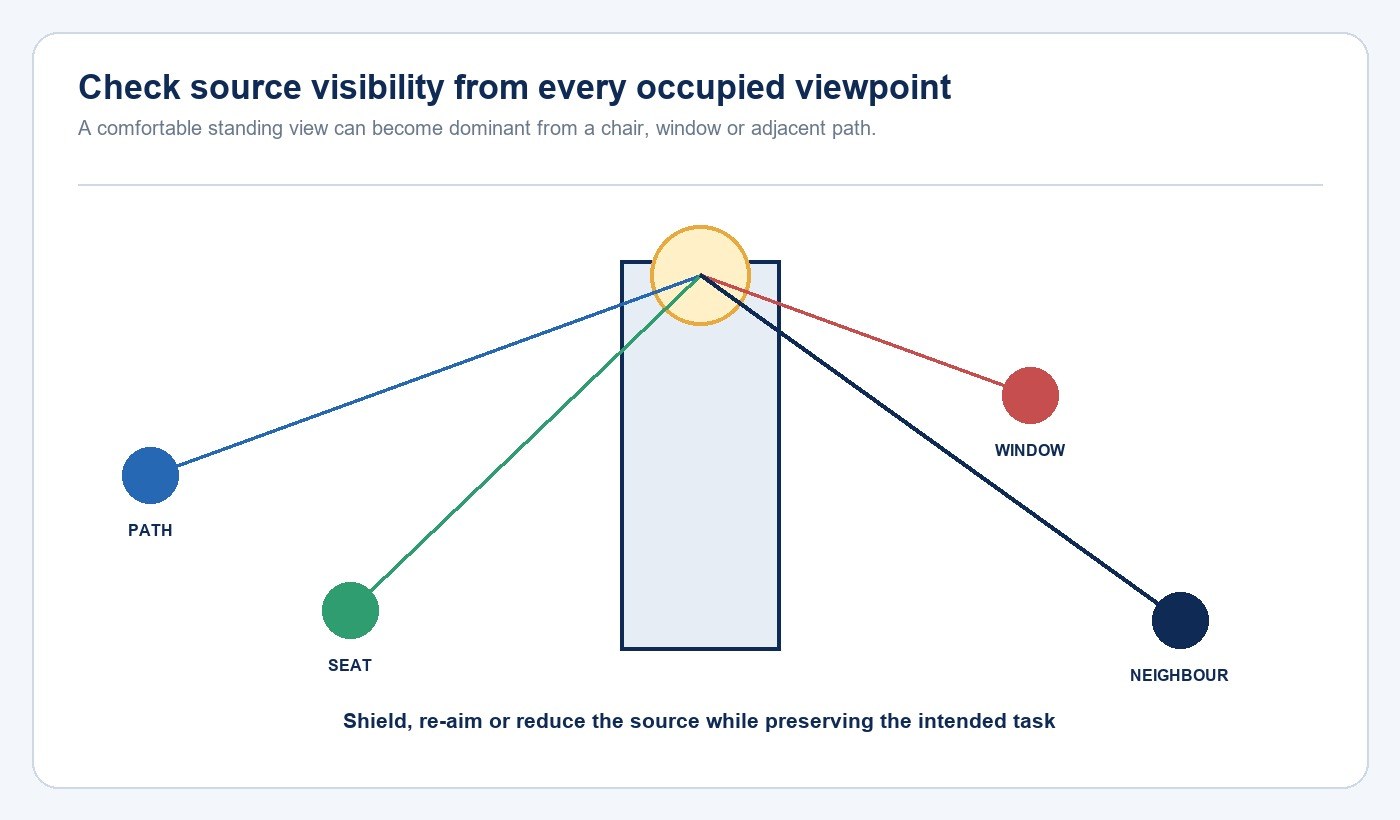
Check the scene from standing and seated positions, from interior windows, from the approach path and from neighbouring viewpoints where spill matters. A source hidden from the path may be visible from a chair. A low bollard can be comfortable nearby but reflected in glazing or water. A façade beam can enter an upper window even when it looks contained from the courtyard.
DarkSky International and the Illuminating Engineering Society describe responsible outdoor lighting through five principles: useful, targeted, low level, controlled and warm-coloured. Apply those principles as project questions: which task needs light, where should it land, what accepted level is sufficient, when should it operate and what colour characteristics suit the application?
Coordinate Product Architecture, Power and Maintenance
Decide which zones use wired luminaires, replaceable-lamp housings, integrated LED products or autonomous solar units. The architecture affects cabling, controls, spare parts, access and failure recovery. Solar can reduce trenching where exposure and the required operating profile are compatible, but panel orientation, shade, battery service and seasonal conditions become part of the decision. Wired systems need an intentional cable route, protection method and service isolation.
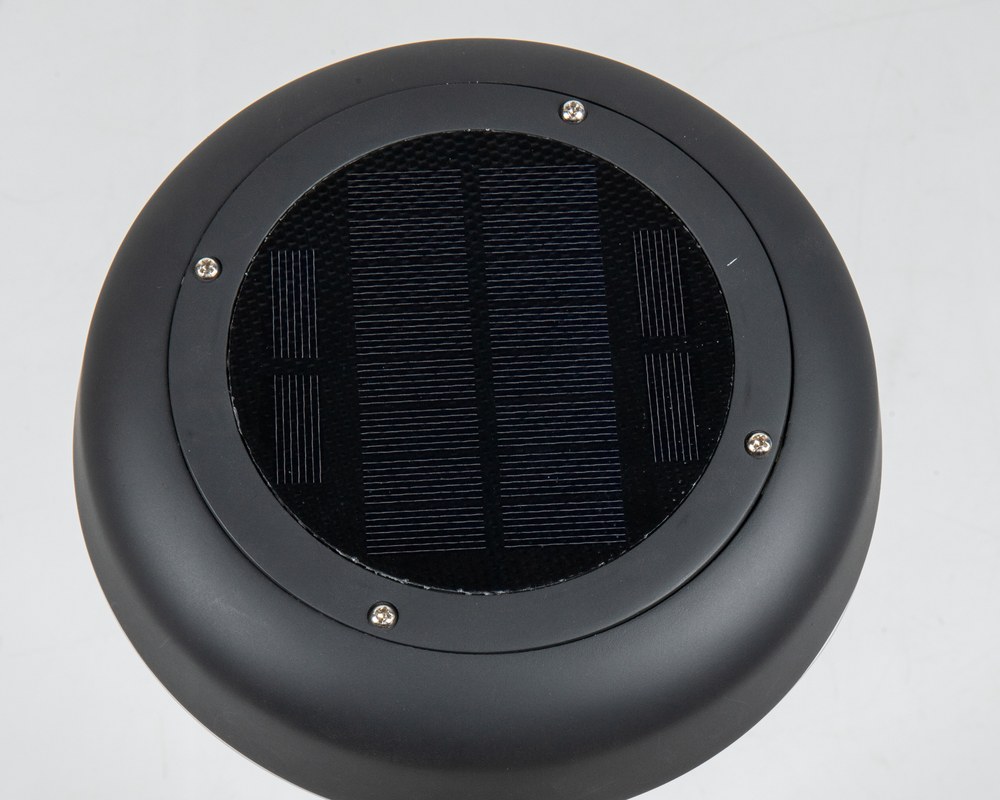
A cylindrical solar garden bollard can start a low-level route review, while a solar landscape light represents a different aiming and focal-light role. Treat them as different tools rather than interchangeable garden lights.
Record access for cleaning, aiming, battery or driver replacement, vegetation trimming and winter inspection. The New Lights factory and manufacturing overview explains the production context, while the download centre is the route for available product documents.
Write Scenes, Overrides and Failure States
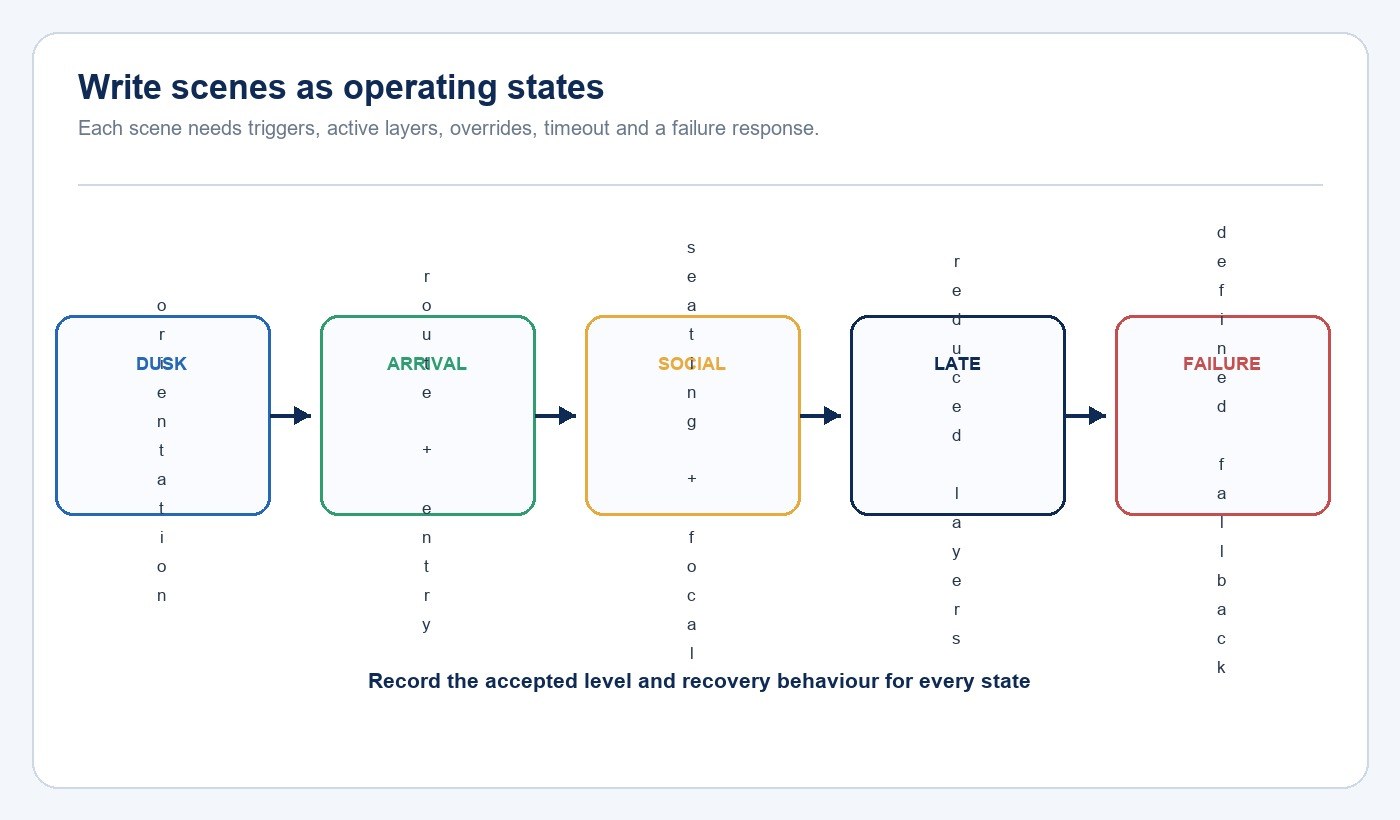
Use a small set of understandable scenes: dusk orientation, arrival, social use, late evening and service. For each scene, state which layers are active, the accepted output, trigger, timeout, manual override and return state. Also define behaviour after power restoration and after a sensor, network or battery problem. A list of control devices is not a sequence of operation.
U.S. Department of Energy exterior-lighting guidance covers schedules, photosensors and occupancy strategies, including commissioning the sensor location, sensitivity, timeout and programmed response. Retain the accepted settings so a replacement or service visit can restore the intended behaviour.
Pilot and Commission the Complete Night Scene
Select a representative area containing at least one route decision, one occupied viewpoint, one planting or architectural target and one control transition. Install at the intended height and orientation. Review source visibility, task visibility, reflected brightness, spill, colour appearance and interaction with interior light. Adjust aiming, shielding and control settings before repeating the test from every relevant viewpoint.
Record product identity, mounting position, aiming, scene settings, test condition, accepted result and corrective action. Commissioning should be repeated after meaningful planting growth, façade change or control replacement because those changes can alter the original relationship between light, surface and viewer.
Courtyard and Villa Lighting Checklist
- Map arrival, movement, social, landscape and service zones.
- Mark turns, steps, thresholds, obstacles and occupied viewpoints.
- Give every luminaire one primary task and a visible failure condition.
- Compare distribution on the real surface and at the intended mounting position.
- Check source visibility, reflections and spill from all affected viewpoints.
- Separate wired, replaceable, integrated and solar maintenance requirements.
- Write dusk, arrival, social, late-night, service and failure states.
- Pilot a representative area after dark and retain the accepted settings.
Frequently Asked Questions
How many lighting layers does a courtyard need?
Use only the layers required by the actual tasks. A compact courtyard may combine movement and entrance lighting, while a larger villa may need separate arrival, route, seating, landscape, façade and service layers.
Should every path light use the same spacing?
No. Placement depends on route geometry, distribution, mounting height, surface reflectance, obstacles and required transitions. Start with decision points and verify the pattern on site.
Can solar lights replace wired courtyard lighting?
They can serve selected zones when solar exposure, operating duration, controls, maintenance and seasonal performance suit the task. Critical entrances or service areas may require a different architecture or a defined backup strategy.
Should all exterior fixtures have the same colour appearance?
Connected views should be coordinated, but exact sameness is not always necessary. The hierarchy, surface colour, interior spill and task can justify deliberate differences when they are reviewed together.
Prepare the Project Brief
Send the site plan, route and zone markup, photographs from occupied viewpoints, mounting constraints, operating schedule, control sequence, exposure conditions, maintenance access and the exact product documents already available. Use the outdoor wall and entrance lighting guide for doorway interfaces, then submit the complete scope through the New Lights project enquiry form.
Editorial Sources
- DarkSky International and Illuminating Engineering Society, “Five Principles for Responsible Outdoor Lighting”: https://darksky.org/resources/guides-and-how-tos/lighting-principles/
- U.S. Department of Energy, “Exterior Lighting Controls Guidance”: https://betterbuildingssolutioncenter.energy.gov/resources/exterior-lighting-controls-guidance