

Dedicated under-cabinet light bars and broader linear luminaires can both illuminate a countertop. Neither format is automatically the better choice. The answer depends on the work surface, cabinet geometry, required light distribution, visibility of the fixture, wiring route, controls and maintenance plan.
Start with the delivered result: comfortable, useful light across the task area. Then determine which exact product can create that result while fitting the recess and installation conditions. Product names alone are not enough—a slim “cabinet light” can still leave gaps, and a high-output “linear fixture” can be too deep, too visible or poorly distributed for a shallow cabinet.
Define the Under-Counter Task
Under-cabinet lighting is normally task lighting, not just decoration. ENERGY STAR kitchen guidance describes it as direct illumination for work surfaces and notes that fixtures are often concealed and positioned to reduce shadowing.
Document the actual task before comparing products:
- Food preparation or sink work.
- Reading labels or operating equipment.
- Retail shelf presentation.
- Display-cabinet accent lighting.
- Laboratory or workshop bench activity.
- Low-level nighttime orientation.
The required visual result changes with the task. A kitchen counter may need broad, comfortable coverage. A display shelf may prioritize visual hierarchy. A precision bench may need higher and more uniform task light, together with project-specific requirements.
The color temperature and CRI guide covers the separate question of color appearance. Keep that decision distinct from fixture fit and delivered distribution.
Also record the surface. Polished stone, stainless steel, glass and glossy backsplashes can reflect a bright LED image toward the user. Dark matte surfaces absorb more light. A satisfactory layout therefore cannot be selected from fixture lumens alone.
Measure the Cabinet and Counter
Create a dimensioned sketch that includes:
- Cabinet length and depth.
- Counter depth and backsplash height.
- Recess behind the front cabinet edge or valance.
- Distance from the underside of the cabinet to the task surface.
- Gaps caused by sinks, appliances, corners and vertical partitions.
- Locations for power feeds, drivers, connectors and controls.
- Areas where the fixture could be visible from normal standing or seated positions.
Measure each run rather than assuming all cabinets are identical. A layout may contain several short sections, one long continuous section and an inside corner. The best format can differ by zone, although mixing products creates color, output and control-coordination risks that must be managed.
| Input to record | Why it changes the decision | Evidence to request or produce |
|---|---|---|
| Cabinet and counter dimensions | Determines physical fit and task distance | Dimensioned plan and section drawing |
| Recess and normal eye position | Determines concealment and source visibility | Cross-section with front edge and sight line |
| Individual run lengths and corners | Determines joints, dark gaps and feed locations | Run schedule with obstacles and partitions |
| Counter and backsplash finish | Changes reflections and perceived contrast | Finish samples or representative photographs |
| Supply and control method | Determines driver, wiring and interface requirements | Circuit and control schedule |
| Maintenance access | Determines whether a bar, driver or complete fixture can be replaced | Service-access sketch and replacement plan |
What Is a Dedicated Under-Cabinet Light Bar?
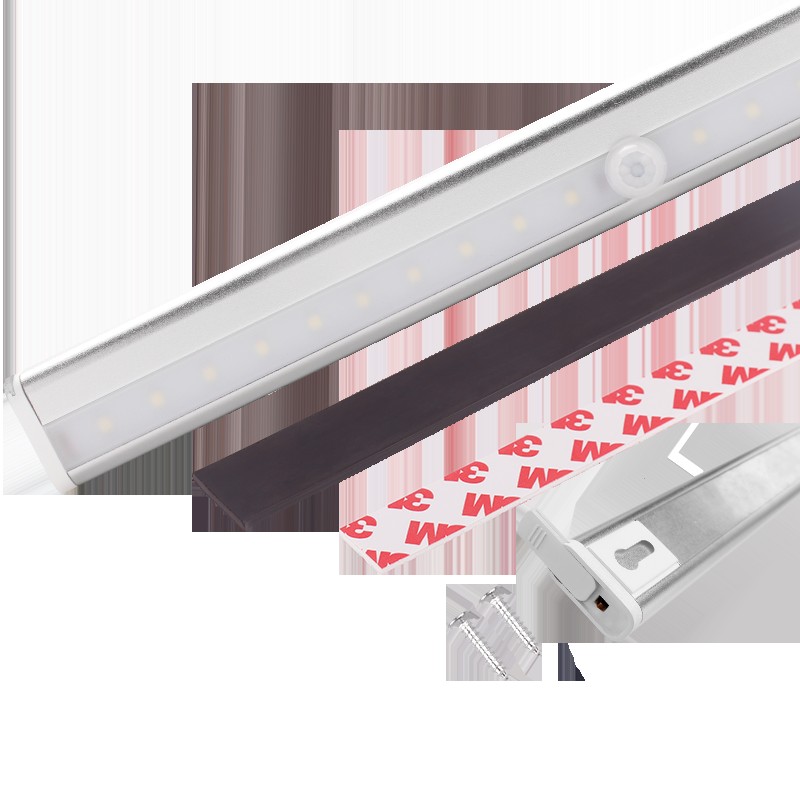
A dedicated cabinet light is designed around a shallow mounting space and a nearby task surface. Depending on the model, it may integrate the LED source and driver, accept line or low voltage, connect end to end or through jumper cables, and offer local switching or dimming.
Its potential strengths include:
- Low-profile housing that is easier to conceal.
- Optics intended for a nearby counter or shelf.
- Short lengths for segmented cabinet layouts.
- Purpose-designed connectors and mounting accessories.
- Integrated controls on some models.
Its limitations are model-specific. A row of separate bars can create bright and dark bands if lengths, gaps or distributions do not align. Integrated drivers can simplify wiring but increase housing depth or make replacement dependent on the complete unit. Linking may be limited by total load, cable length, connector type or manufacturer instructions.
Do not infer that every cabinet light is linkable, dimmable, field-cuttable or suitable near a sink. Those conditions must be checked for the exact product.
What Is a Linear Fixture in This Comparison?
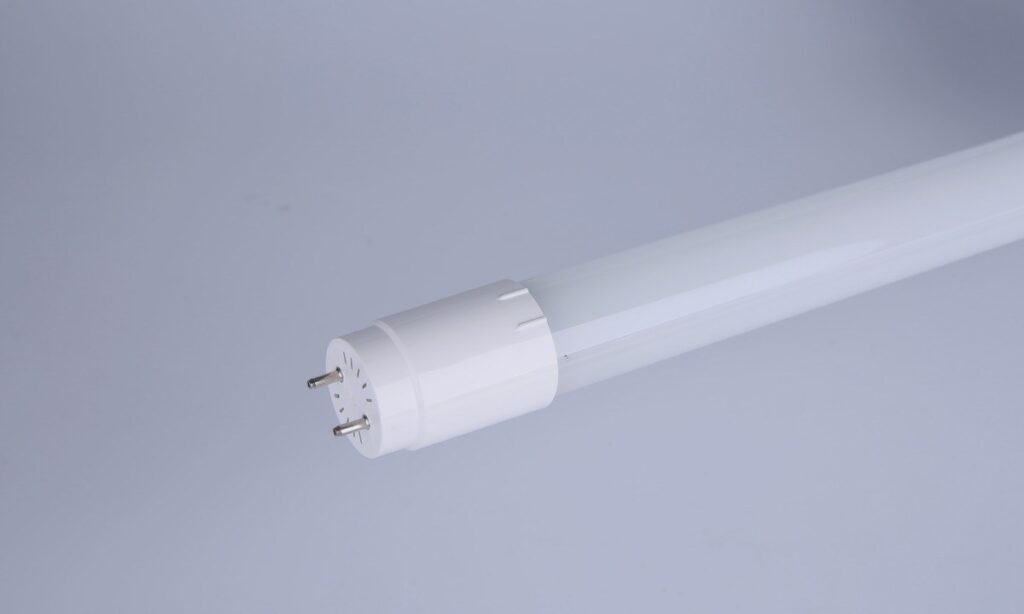
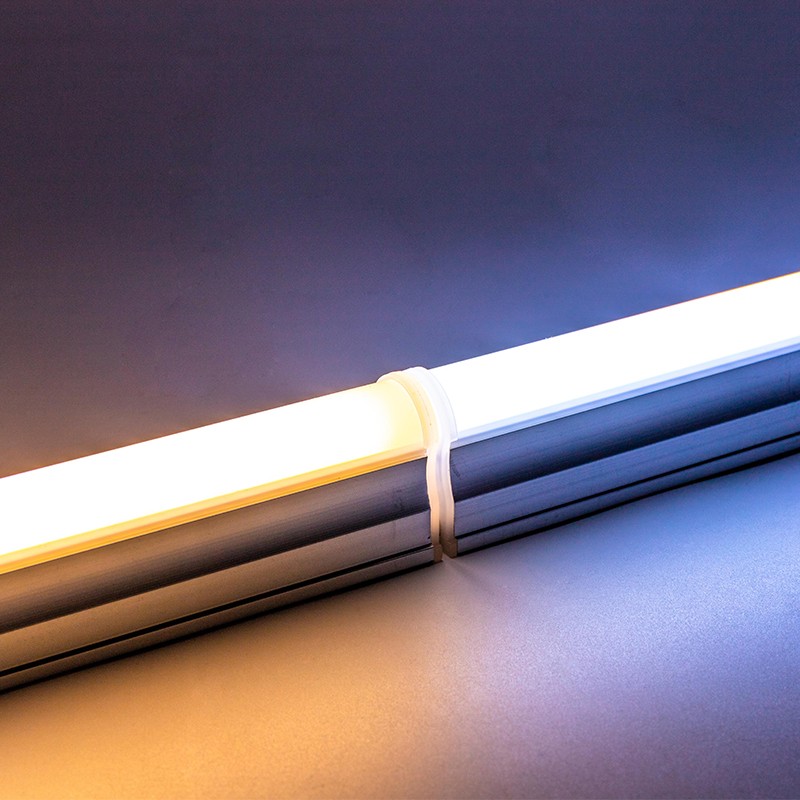
“Linear fixture” is a broad term. It may refer to a slim batten, rigid linear luminaire, channel-and-strip system or another elongated product originally intended for shelf, cove, display, ambient or task lighting.
Its potential strengths include:
- Longer continuous luminous sections.
- Higher output options for deeper counters or demanding tasks.
- A wider choice of optics, drivers and control systems in project-grade ranges.
- Centralized power or control for multiple runs.
- Better continuity where long uninterrupted cabinets are present.
The same product may also be too large or visually exposed under a residential cabinet. Its distribution may have been designed for a larger room rather than a nearby counter. External drivers and wiring accessories need a serviceable location, and field assembly can add design and installation complexity.
Only use a broader linear luminaire under a cabinet when its instructions, mounting, thermal conditions and applicable approvals support that installation.
Compare Delivered Light, Not Just Lumens
A DOE GATEWAY brief on residential under-cabinet LED lighting identified the work surface as the primary target and the backsplash as a secondary surface that can help reduce contrast. Although the brief’s product data and old program criteria are historical, this task-based principle remains useful.
For each candidate, examine:
| Selection criterion | Dedicated cabinet light bar | Broader linear fixture |
|---|---|---|
| Concealment | Often optimized for shallow recesses | May require more depth or a valance |
| Short segmented runs | Multiple lengths and local accessories may simplify fitting | Longer housings may leave unusable gaps |
| Long visual continuity | More joints can create end gaps or overlap | Longer luminous sections may reduce joint count |
| Driver and wiring | May integrate the driver or use a compact external supply | May offer centralized or project-grade driver options |
| Controls | Local switch or sensor may be available on some models | Broader control interfaces may be available in project ranges |
| Maintenance | Complete-bar replacement can be simple but model-dependent | Modular architecture may improve serviceability but add components |
- Light reaching the counter, not only total output.
- Distribution across the counter depth.
- Continuity along the cabinet run.
- Light on the backsplash and vertical objects.
- Brightness visible from normal viewing angles.
- Shadows created by the user, cabinet edge and nearby objects.
Photometric data for the exact model is preferable. For smaller projects, a full-size sample installed in a representative cabinet section is often the most direct check. Evaluate it at night and during daytime, because daylight and overhead lighting change perceived contrast.
Positioning Affects Shadows and Glare
Placing a light near the back wall can brighten the backsplash but may leave the front of a deep counter weaker. Moving it toward the front can improve task-surface coverage but expose the source to standing or seated users. The appropriate position depends on the optic, cabinet edge and counter geometry.
A diffuser can reduce the visibility of individual LED points, but “diffused” does not guarantee low glare. Source luminance, emitting area, viewing angle and reflective surfaces still matter.
Use a section drawing to compare fixture position with the user’s eye and the reflective path from the counter. If the LED image appears in polished stone, changing the mounting position, recess, shield or optic may be more effective than simply reducing output.
Plan for Continuous Runs and Gaps
For a visually continuous line, compare available fixture lengths with the actual cabinet modules. Short bars can fit around obstacles, while longer linear luminaires can reduce the number of joints. Neither guarantees uniformity at connectors or ends.
Check:
- Dark zones between products.
- Brighter overlap near adjacent luminaires.
- End-of-run output and optical cutoffs.
- Corner transitions.
- Jumper-cable visibility.
- Maximum products or load per feed.
- Voltage drop for low-voltage systems.
Do not exceed a manufacturer’s stated linking or run limit. If the system uses separate drivers, match the load, dimming method and environmental requirements to the complete run.
For integrated linear products, the T5 linking and installation planning guide explains why connector type, feed position, total load and future replacement must be treated as one system.
Choose Plug-In, Hardwired or Low-Voltage Architecture
Plug-in systems can simplify some retrofit projects when a suitable receptacle exists and cords can be routed safely and discreetly. Hardwired systems can produce a cleaner permanent installation but require an approved wiring method, accessible connections and qualified electrical work. Low-voltage systems move the mains-voltage driver elsewhere but still require a planned location, cable route and service strategy.
Decide early. The electrical architecture affects fixture depth, feed position, control options and the number of visible components. It can also determine whether one wall switch controls all runs or each section operates independently.
Do not convert between plug-in and hardwired use unless the exact product and installation method permit it. Local electrical and building requirements must be reviewed for the project.
Check Dimming and Control Compatibility
“Dimmable” is not a complete system specification. Identify the control method, driver, minimum load, maximum connected load and compatible control devices. Test the exact combination when low-level stability or synchronized operation is important.
The LED driver, dimming and control compatibility guide provides the wider system checks for driver, dimmer and control behaviour.
Possible controls include a wall dimmer, local touch switch, door sensor, occupancy sensor or a building-control interface. A kitchen may prioritize simple wall control. A display cabinet may need scheduled operation. A task bench may use occupancy sensing with a manual override.
Check behavior at power restoration and across multiple linked sections. Mixed drivers can turn on at different levels or respond differently to the same dimming command.
Consider Heat, Moisture and Serviceability
LED products still need thermal management. ENERGY STAR explains that heat sinks move heat away from LED components. Under a cabinet, avoid trapping a product in a space that conflicts with its installation instructions or covering ventilation and heat-dissipation surfaces.
Near sinks, wash areas or other damp locations, confirm the exact model’s suitability and the complete connection method. A broad product-family label should not substitute for model-level evidence.
Finally, plan how the system will be serviced. Can a failed bar be replaced without removing the cabinet? Is the driver accessible? Will a replacement match the existing color and output several years later? Integrated products can be compact and simple, while modular systems may allow component replacement; the preferred approach depends on project scale and maintenance capability.
A Practical Decision Workflow
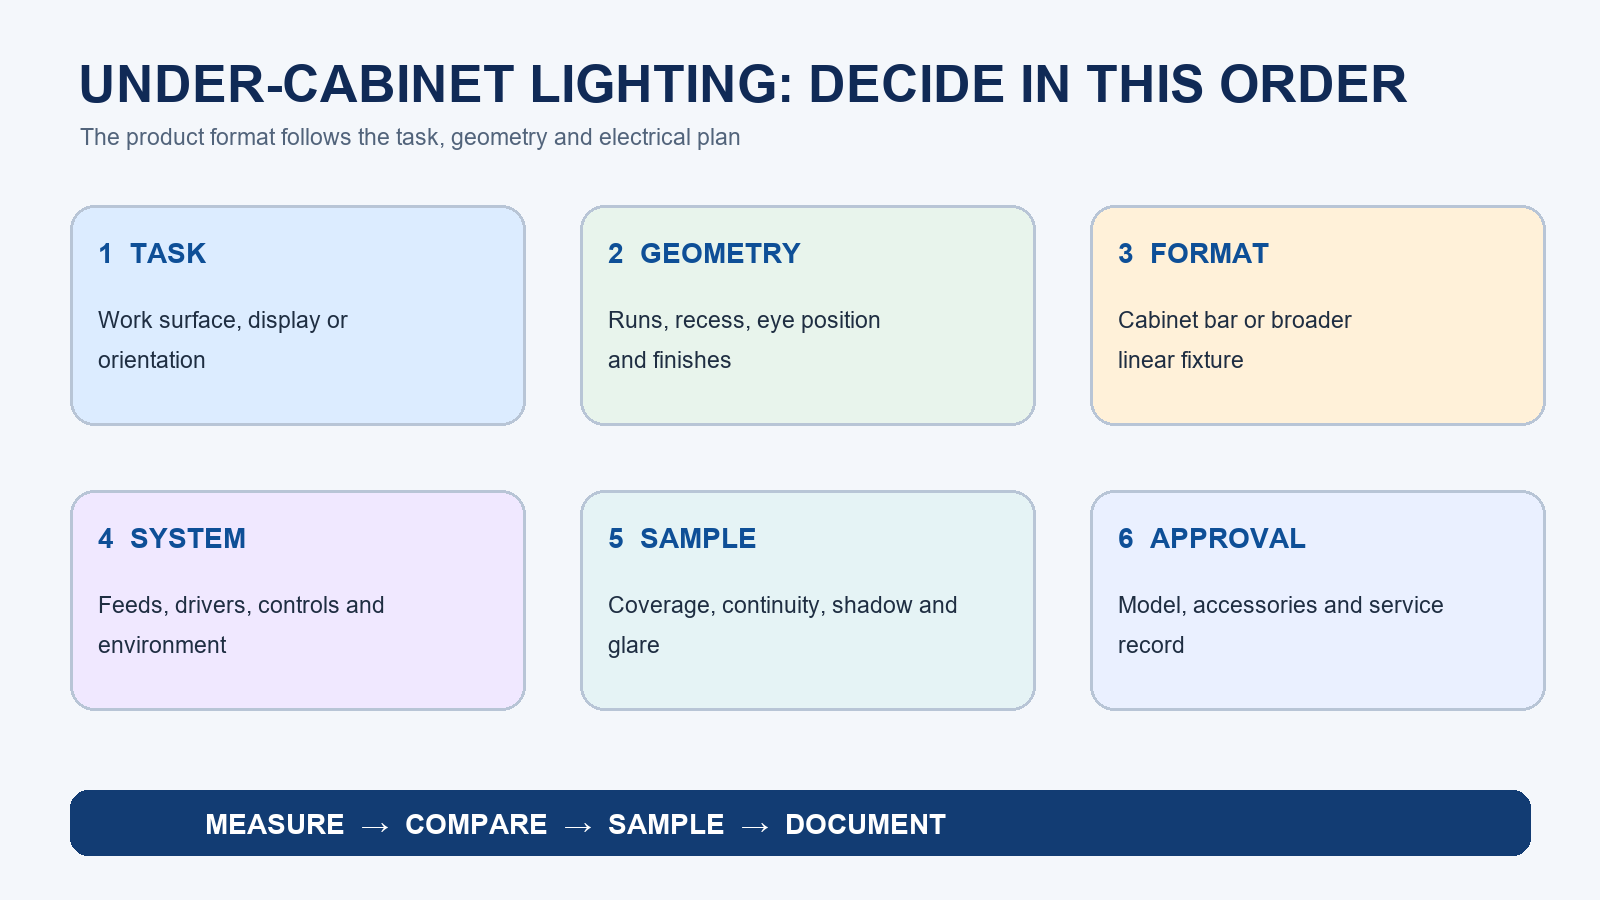
Use this sequence:
- Define the task and desired visual appearance.
- Measure every cabinet, counter and recess.
- Select a candidate format that physically fits.
- Review exact photometric and dimensional data.
- Map lengths, gaps, feeds, drivers and controls.
- Confirm electrical and environmental suitability.
- Test a representative sample for coverage, shadows, glare and color.
- Document the approved model and installation details.
Choose the dedicated cabinet light when its shallow form, accessories and nearby-task distribution solve the layout cleanly. Choose a broader linear fixture when its continuous length, optic, driver architecture and project controls better fit the requirement. The decision remains model- and installation-specific.
For product-family exploration, compare the New Lights under-cabinet lighting range with the LED linear lighting range only after the measurement and electrical brief is complete.
Frequently Asked Questions
Are under-cabinet light bars always better than linear fixtures?
No. They are often easier to conceal and integrate in short cabinet modules, but a suitable linear luminaire may provide better continuity or project control. Compare exact models and the delivered task light.
How bright should under-counter lighting be?
There is no universal lumen value. The task, counter size, mounting height, distribution, surface reflectance, overhead light and user needs all matter. Evaluate light on the work surface and test a representative section.
Where should the light be mounted under the cabinet?
The position should balance counter coverage, backsplash light, concealment, shadows and glare. Use the exact product distribution and a section drawing or sample, rather than applying one front-or-back rule to every cabinet.
Can I connect multiple bars in one run?
Only if the exact system permits linking. Follow its connector, cable, load and maximum-run limits, and verify the driver and control configuration.
Can a plug-in cabinet light be hardwired?
Do not assume so. Use only an installation method supported by the product documentation and applicable local requirements. Permanent mains wiring should be handled by qualified personnel.
What information is needed to compare models?
Provide cabinet and counter dimensions, individual run lengths, recess depth, surface finishes, supply, plug-in or hardwired preference, control method, environment and desired appearance. Buyers can contact New Lights with these inputs for a model-level comparison.