


 English
 Español
 Deutsch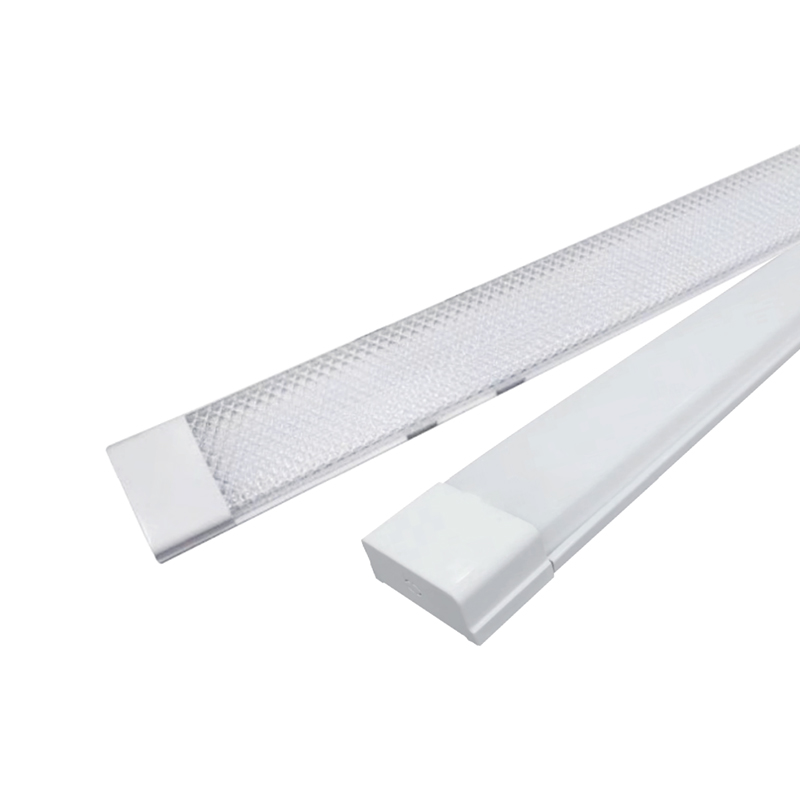
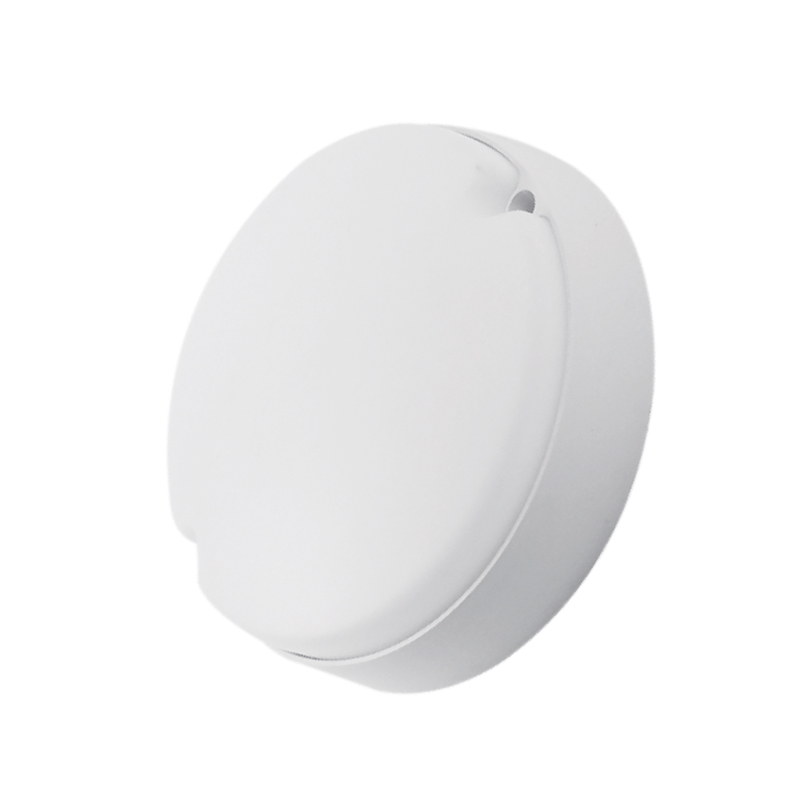
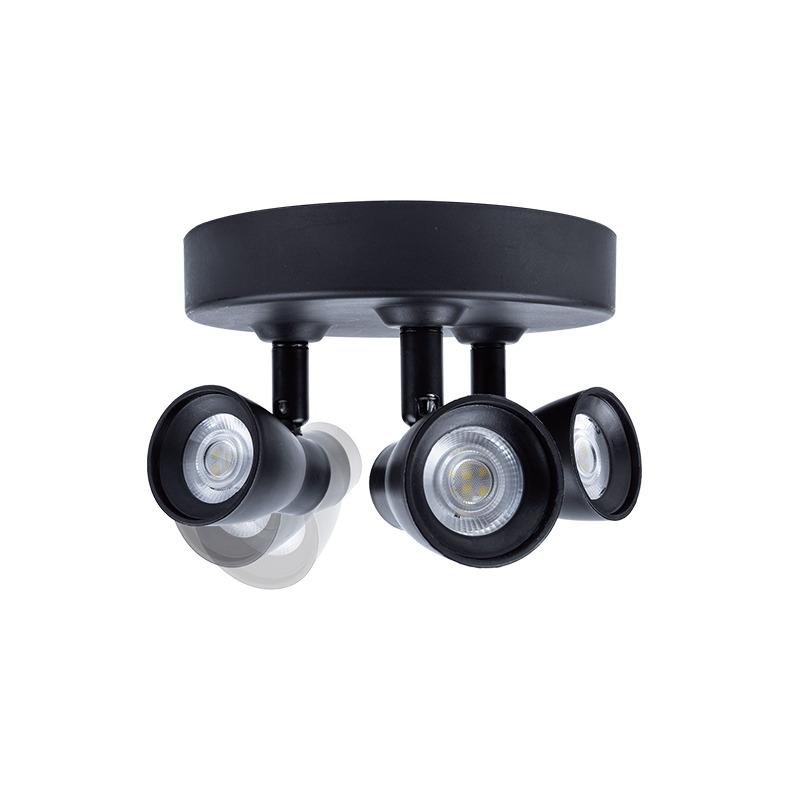
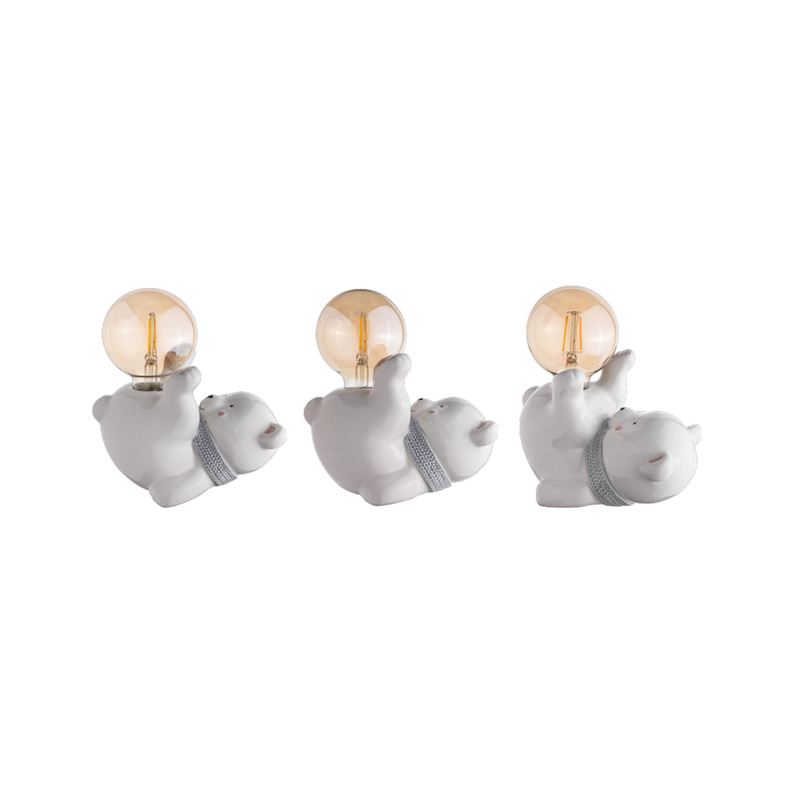
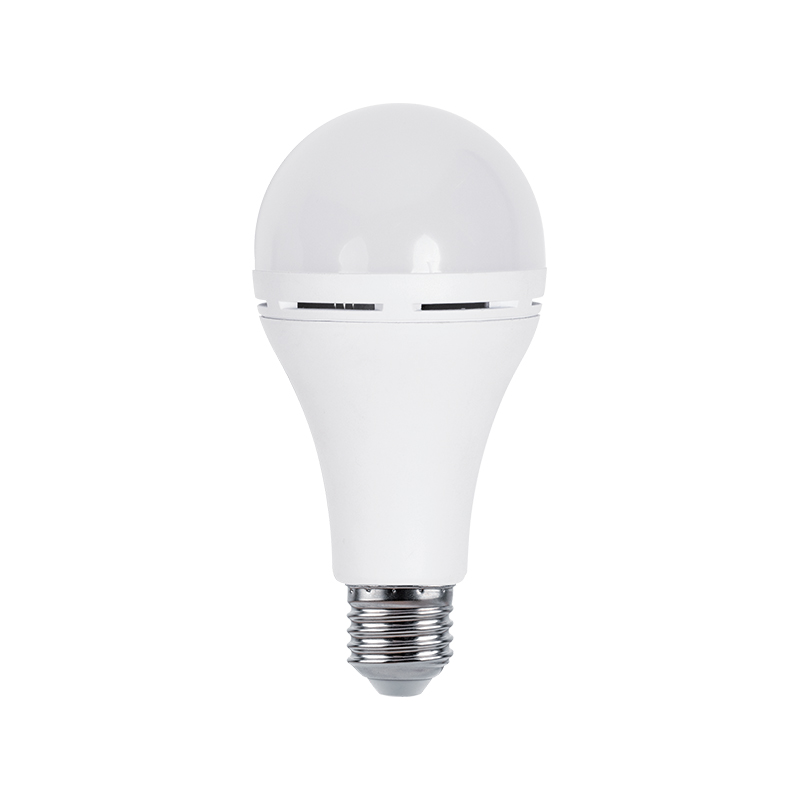
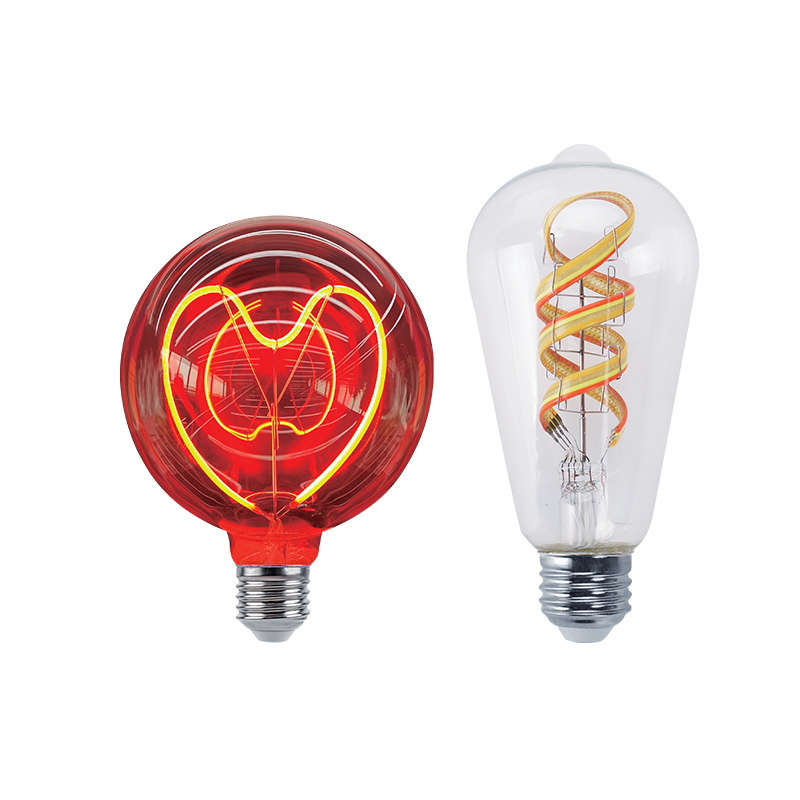
We sincerely look forward to establishing a long-term development partnership with you with good quality and professional services.
Why Ceilings Are the Most Overlooked Design Surface
Walls get paint, floors get flooring, but ceilings are frequently treated as an afterthought. Yet the ceiling plane controls how light is distributed across a room, how tall a space feels, and how much visual clutter is introduced by fixtures. LED Panels & Downlight solutions have shifted ceiling design from a single bulky fixture in the center of the room toward a distributed lighting layer that can be tuned by zone, task, and mood.
This shift is not purely aesthetic. Distributed low-profile lighting reduces shadow pooling, improves task visibility, and allows a single circuit to support multiple color temperatures and dimming curves. The sections below walk through the practical mechanics of specifying, installing, spacing, and budgeting for this type of upgrade.
50,000+
Typical rated hours for a quality LED downlight module before significant lumen depreciation
2 to 4 inches
Common trim diameter range for modern recessed downlights, down from 6 inch legacy cans
90%+
Approximate energy reduction possible when replacing incandescent recessed cans with LED modules
LED Panels vs Downlights: Choosing the Right Format
Panels and downlights solve similar lighting problems but suit different ceiling conditions. Flat LED panels distribute light evenly across a broad surface and work well in drop-ceiling grids or surface-mounted applications in offices, hallways, and utility spaces. Downlights, by contrast, are point-source fixtures recessed into the ceiling cavity and are better suited to residential rooms where a cleaner, less uniform look is preferred.
| Attribute | LED Panel | LED Downlight |
|---|---|---|
| Typical Use | Offices, drop ceilings, garages | Living rooms, kitchens, hallways |
| Light Distribution | Broad, even wash | Focused cone or wide-beam |
| Ceiling Requirement | Grid or flat surface | Cavity depth for housing |
| Visual Profile | Flush, uniform grid | Minimal, trimless or low-trim options |
| Dimming Compatibility | Depends on driver | Widely available with 0 to 10V or TRIAC |
For most residential remodels, the practical question is not panel versus downlight in isolation, but which combination of the two best matches the ceiling type already present. Rooms with an existing drop-ceiling grid are natural candidates for panels, while drywall ceilings with adequate joist spacing are typically better suited to recessed downlights.
Recessed Lighting Installation: What the Process Actually Involves
Recessed lighting installation is often assumed to be a simple hole-and-fixture swap, but the sequence matters, particularly in retrofit scenarios where insulation, joists, and existing wiring are already in place.
Three checkpoints tend to determine whether a recessed lighting installation goes smoothly:
- Confirming there is enough vertical clearance between the drywall and any structural or insulation obstruction, since shallow cavities require low-profile or slim housing designs.
- Verifying whether the fixture will be covered by insulation, which determines whether an IC-rated (insulation contact) housing is required.
- Checking local code requirements for airtight housings in climates where ceiling penetrations affect energy performance.
Retrofit downlights that mount through a single ceiling opening without accessing the attic have simplified installation considerably, but new construction projects still benefit from traditional housings that can be wired and positioned before drywall goes up.
Recessed Lighting Spacing: Avoiding the Scalloped Ceiling Look
Spacing is the single most common source of uneven, "scalloped" ceilings, where dark gaps appear between pools of light. A commonly used starting rule is to divide the ceiling height in feet by two to estimate spacing in feet between fixtures, then adjust based on the beam angle of the specific downlight selected.
| Ceiling Height | Suggested Spacing | Typical Application |
|---|---|---|
| 8 ft | 4 to 5 ft apart | Bedrooms, hallways |
| 9 to 10 ft | 5 to 6 ft apart | Living rooms, kitchens |
| Vaulted or 12 ft+ | 6 to 8 ft apart, wider beam angle | Great rooms, open lofts |
Wall-mounted furniture and task areas should be lit intentionally rather than filled in by the general spacing grid. A downlight placed roughly 18 to 24 inches from a wall, angled or wall-washed, will highlight vertical surfaces such as cabinetry or artwork far more effectively than a fixture centered purely on a room-wide grid.
Recessed Lighting Cost: What Drives the Budget
Recessed lighting cost varies widely depending on whether the project is new construction, a retrofit into finished drywall, or a full whole-home upgrade. Material cost per fixture is usually the smaller share of the budget; labor, especially attic access and wiring runs, tends to dominate.
| Cost Component | Typical Range (per fixture) | Notes |
|---|---|---|
| Fixture and housing | Low to mid cost | Higher for trimless or color-tunable models |
| Basic installation labor | Moderate | Assumes accessible attic or open ceiling |
| Retrofit into finished ceiling | Higher | Includes patching and paint touch-up |
| Dimmer or smart control add-on | Low to moderate | Per switch or per zone |
Whole-room retrofits are almost always more cost efficient per fixture than single-fixture repairs, because wiring runs and attic access costs are shared across multiple locations rather than repeated for each individual light.
Homeowners planning a multi-room upgrade can reduce total project cost by grouping fixtures onto shared circuits and scheduling all cutting and patching work in a single visit, rather than adding fixtures one room at a time over several separate service calls.
Color Temperature, Dimming, and Damp-Rated Fixtures
Color temperature, measured on the Kelvin scale, has a direct effect on how a space feels and how accurately colors render. Kitchens and workspaces typically benefit from cooler, more neutral light, while bedrooms and living rooms often read as more comfortable under warmer tones.
| CCT Range | Appearance | Common Rooms |
|---|---|---|
| 2700K to 3000K | Warm white | Bedrooms, living rooms, dining areas |
| 3500K to 4000K | Neutral white | Kitchens, bathrooms, home offices |
| 5000K and above | Cool daylight | Garages, workshops, task-heavy areas |
Dimmable recessed lighting has become close to a default expectation rather than a premium feature, but compatibility still needs to be verified. LED drivers and dimmer switches communicate through specific dimming protocols, and mismatched pairings are the most common cause of flickering or a limited dimming range.
- Confirm the driver type before selecting a dimmer, since TRIAC-based wall dimmers do not always pair cleanly with 0 to 10V drivers.
- Test the full dimming range after installation rather than relying on manufacturer specification sheets alone.
- For bathrooms, covered outdoor soffits, or any area exposed to moisture, select damp-rated or wet-rated fixtures rather than standard dry-location housings.
Damp-rated fixtures are sealed against condensation and indirect moisture exposure, which makes them appropriate for shower ceilings, covered patios, and similar transitional spaces, whereas fully wet-rated fixtures are required for direct rain exposure.
Applying These Principles in Kitchen Lighting Design
Kitchens combine task lighting, ambient lighting, and accent lighting in a single, relatively compact space, which makes them a useful case study for how panels and downlights work together.
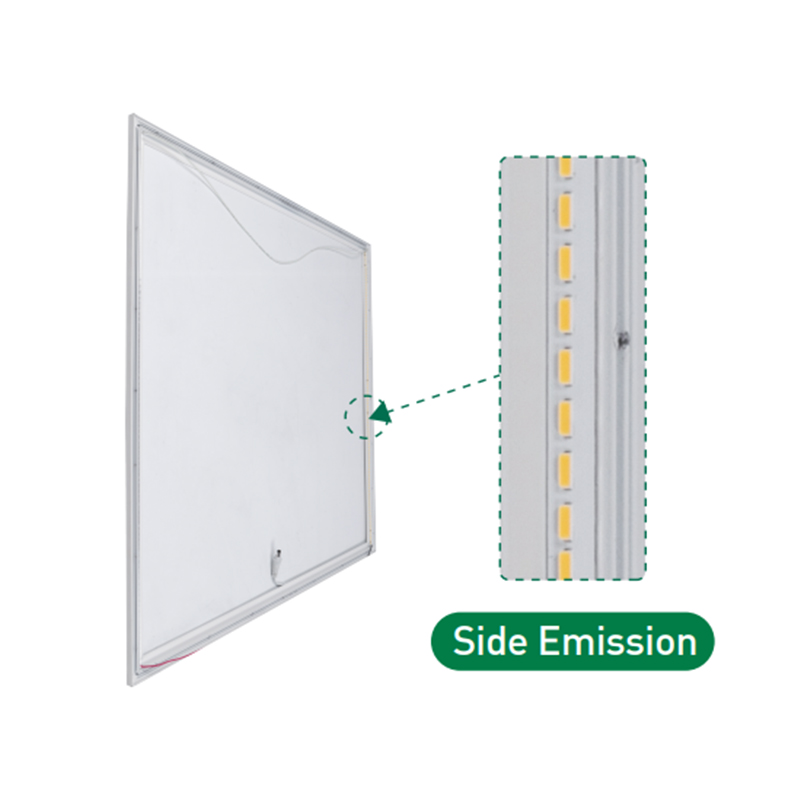
A layered kitchen lighting plan generally separates into three functions rather than relying on a single centered fixture:
- General ambient light from evenly spaced downlights or a flush panel across the main ceiling area.
- Task light directed at countertops and the range, often supplemented by under-cabinet strips in addition to ceiling fixtures.
- Accent or island lighting, frequently pendant-based, which is layered on top of the recessed grid rather than replacing it.
Because kitchens involve moisture from cooking and dishwashing, damp-rated downlights are worth considering near the sink and range even when the rest of the room uses standard dry-location fixtures. Neutral color temperatures in the 3500K to 4000K range also tend to render food and countertop materials more accurately than warmer tones.
Common Specification Mistakes Worth Avoiding
Uniform Spacing Only
Relying purely on a grid formula without adjusting for task zones such as counters, desks, or seating areas
Ignoring Cavity Depth
Selecting standard-depth housings for shallow ceilings without checking for slim or low-profile alternatives
Skipping Dimmer Compatibility
Pairing LED drivers with dimmers that were not designed or tested for that driver type
Each of these mistakes is inexpensive to avoid at the planning stage but can be costly to correct after drywall, insulation, and finishes are already in place.
Frequently Asked Questions
Q1: How many recessed lights does a typical room need?
A rough starting point is to divide the ceiling height in feet by two to estimate spacing in feet, then calculate how many fixtures fit that spacing across the room dimensions. Task areas may need additional fixtures beyond the base grid.
Q2: Can LED panels be installed in a room without a drop ceiling?
Yes, surface-mounted LED panels are available for flat drywall ceilings and do not require a grid system, though recessed downlights are more common in residential rooms without a drop ceiling.
Q3: What is the difference between IC-rated and non-IC-rated housings?
IC-rated housings are approved for direct contact with insulation, while non-IC-rated housings require clearance from insulation to prevent heat buildup. Most modern LED retrofit housings run cool enough to be IC-rated by design.
Q4: Do all downlights support dimming?
Not all fixtures support dimming, and even dimmable fixtures vary in their compatible dimmer types. Checking the driver specification against the dimmer specification before purchase avoids most flickering issues.
Q5: Are damp-rated fixtures necessary in every bathroom?
Damp-rated fixtures are generally required in areas exposed to indirect moisture, such as near a shower or tub, while dry areas of the same bathroom can typically use standard fixtures depending on local code.
 GET IN TOUCH


